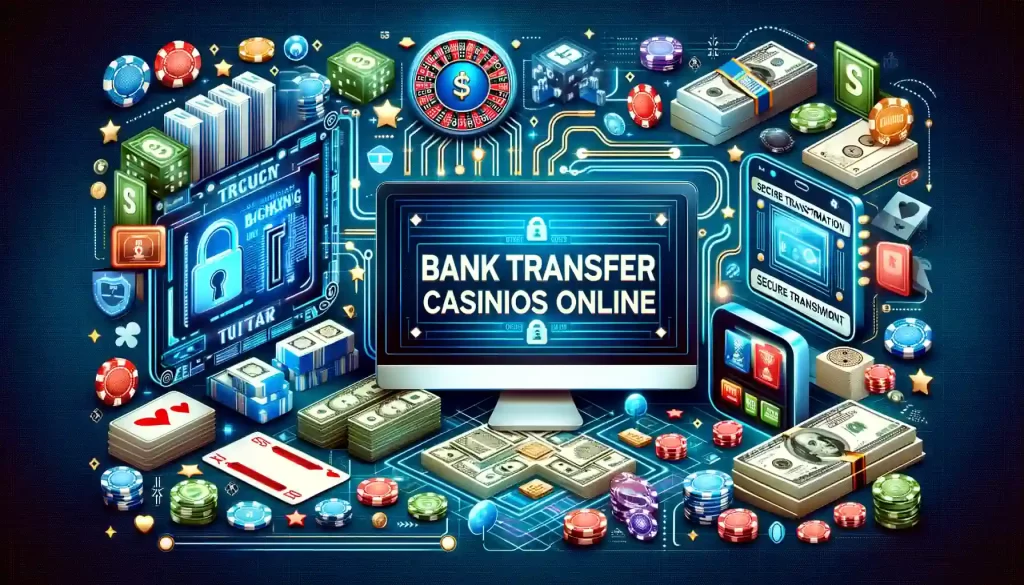
The Benefits of Bank Transfer Casinos Online
Exploring the world of online gambling reveals a myriad of payment methods, each with its own set of advantages. Central to this discussion is the importance of secure and fast bank transfers at top casinos, a feature that not only enhances the gaming experience but also provides peace of mind.…
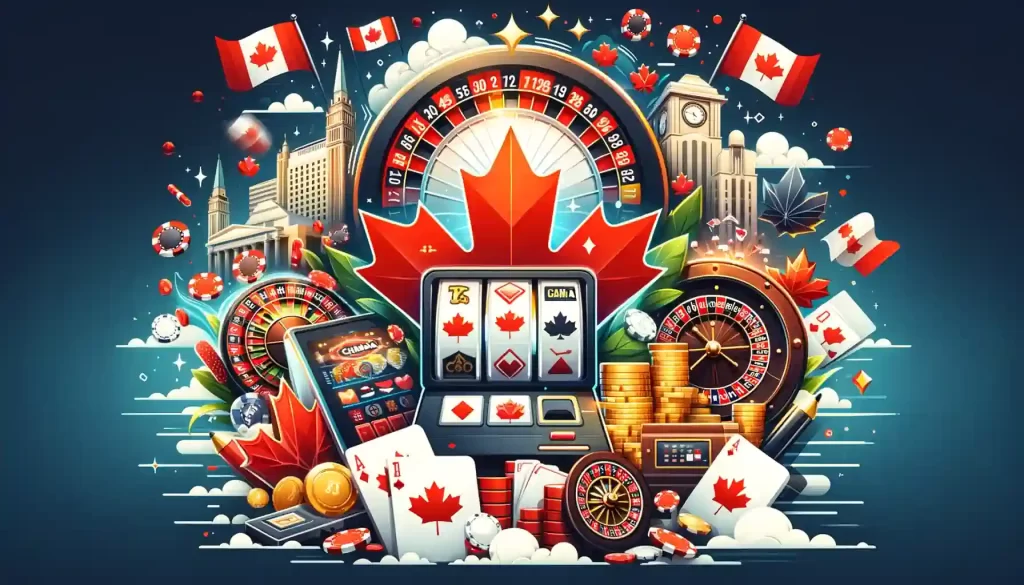
Canadian Online Casinos No Deposit Bonus Options
When it comes to online gambling in Canada, players are often on the lookout for the best deals and bonuses. One popular type of bonus that many online casinos offer is the no deposit bonus. This type of bonus allows players to try out the casino games without having to make a deposit.…

The Rise of Online Mobile Casinos
In recent years, the popularity of online mobile casinos has been steadily on the rise. With the advancement of technology and the widespread use of smartphones and tablets, more and more people are turning to mobile devices for their gaming needs.…
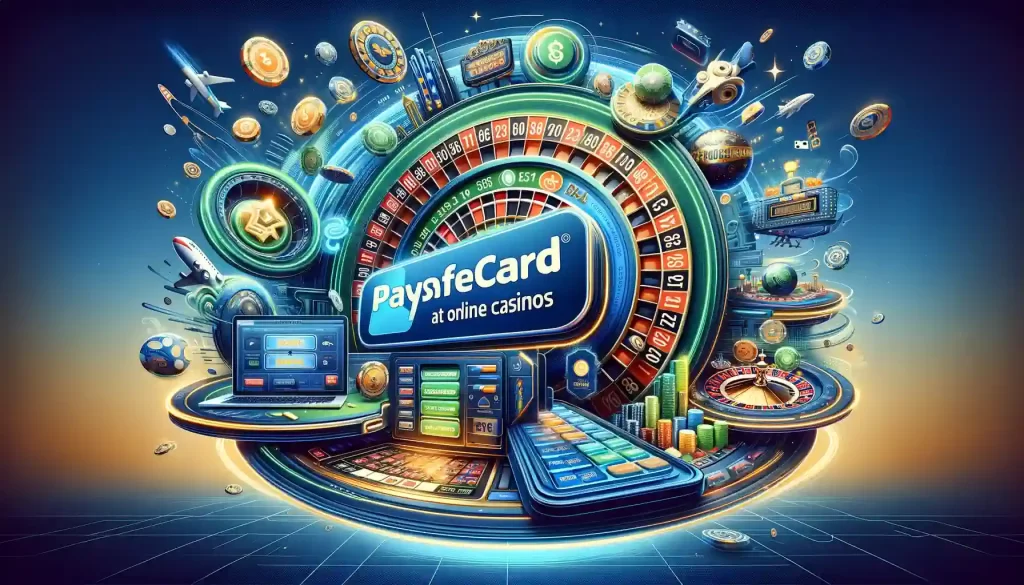
The Benefits of Using paysafecard at Online Casinos
In the ever-evolving world of online gambling, it is essential to choose a secure and reliable payment method that meets your needs. One such method that has gained popularity in recent years is paysafecard. This prepaid payment option allows players to make deposits at online casinos without the need to disclose personal or banking information.…

Top Online Casinos Accepting Jeton Payments
Jeton is a popular e-wallet payment method that allows users to make secure and convenient online transactions. Founded in 2016, Jeton has quickly gained popularity in the online gambling industry due to its ease of use and fast transactions. Jeton allows users to fund their accounts with multiple currencies and offers competitive exchange rates.…